We have introduced how to screen print photographs a couple of times in our JAMLAB articles.
This time, I’m going to show you how to print photos on fabric.
To be honest, printing on fabric is much more difficult than printing on paper, but let’s give it a try and see how it goes!
Prepare artwork for the screen
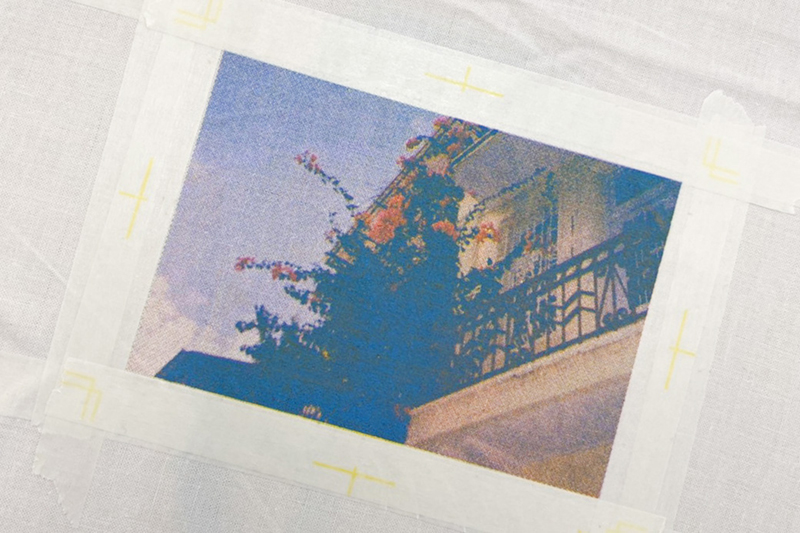
First, pick the photo you want to print.

This time I will try to print this photo.
Screen printing is a process in which colors are layered one by one. Therefore, in order to reproduce full color images like photographs, it is necessary to convert your artworks for screen making. Basically, the full color image needs to be broken down into four colors, C (cyan), M (magenta), Y (yellow), and K (black) and each color needs to be printed one at a time. It’s the overlapping of the four colors that will reproduce the full color image.
In order to convert your photo so it’s ready for screen making, you need to do a “Four Color Separation” on graphic software such as Photoshop. For more details, please check out the SURUTOCO (Tokyo) blog or search online!
Let’s create a four-color separation artwork for screen printing!
(Japanese only)
With this artwork, I will be make the screen.
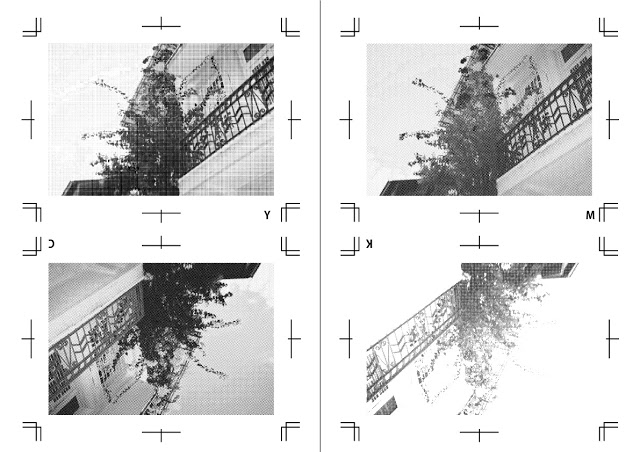
Two artworks are placed on an M size screen. I have four artworks in total so I will be making two M size screens today.
The C (cyan) and M (magenta) artworks are placed upside down, so it will be easier to print later.
Also I’d like to share you an important tip. If you make a little bit of a gap between the trim marks and the design, it will be easier to print later.
Build the screen
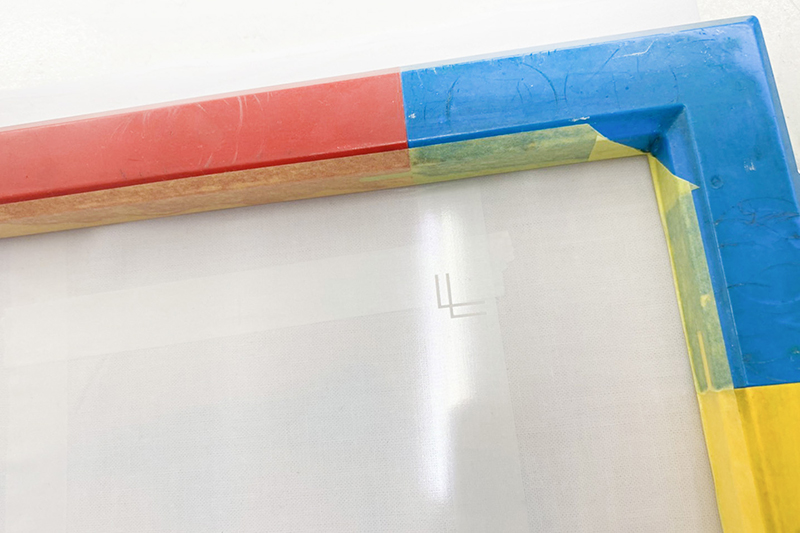
When stretching the screen, you have to be more careful than usual.
Photographic images can only be printed well if the four layers are aligned. This means if the screens are not assembled properly, they will never be aligned. (However, since the screens are stretched by hand, there will inevitably be some misalignment!)
The key is to run the roller from the center and to work your way out towards the corners when pushing down the rubber cords. When doing so, don’t push the roller in one go, but add force gradually!
Prepare before printing
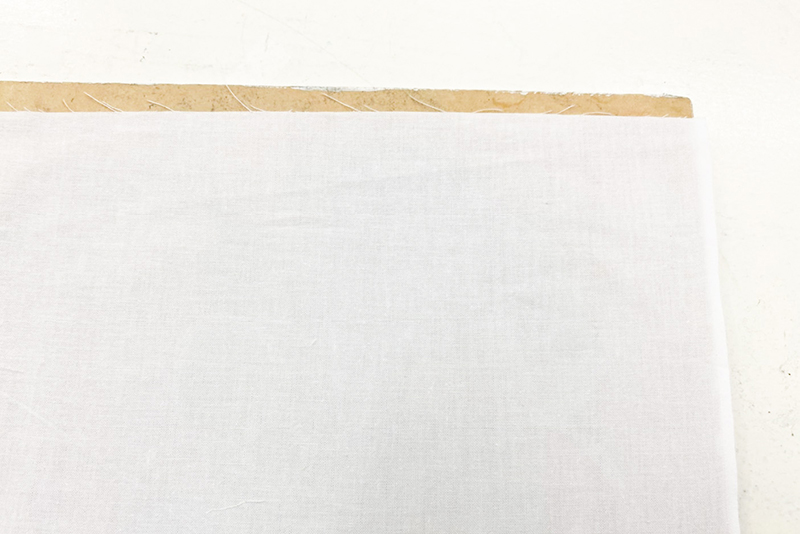
Before printing, please prepare the fabric you will be printing on so it will not move around. Unlike paper, fabric can stretch and move easily. If the fabric shifts after one color has been printed, I’m afraid it will never be aligned! To prevent this from happening, you can simply stick the fabric onto a piece of wooden board or a piece of cardboard. Sprinkle some spray mount on the board and even out the fabric from above so it will stay in place. If you’re still worried, use masking tape to add support on the edges.
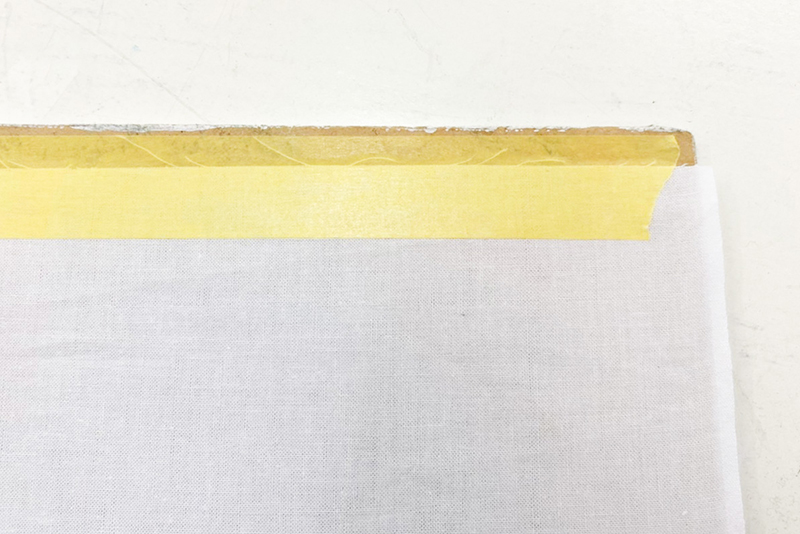
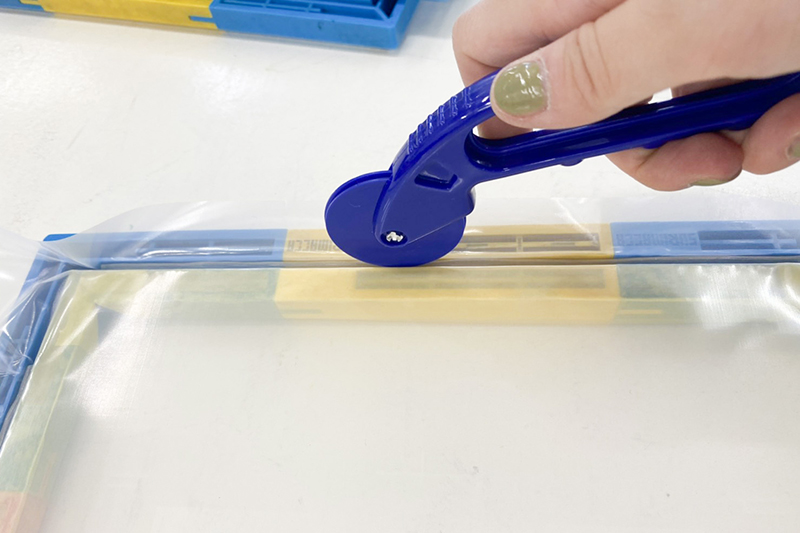
For already sewn fabrics such as bags, it’s best to insert a board mounted with glue inside.
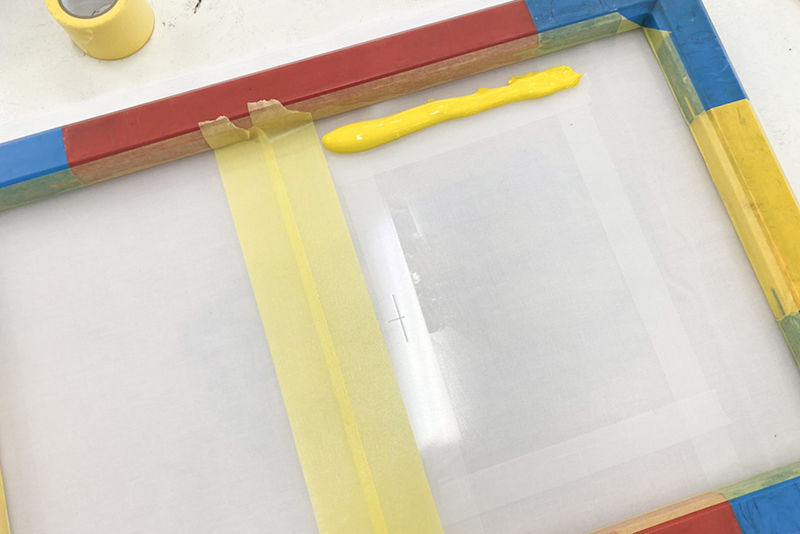
And as for the trim marks, which we have added for registration purposes, if we print straight away, they will show up printed on the material. I believe no one would want that to happen…! To avoid printing the trim marks, stick masking tape over the areas where they will be printed. In this way, the trim marks will be printed onto the tape instead of the fabric! *White masking tape is recommended
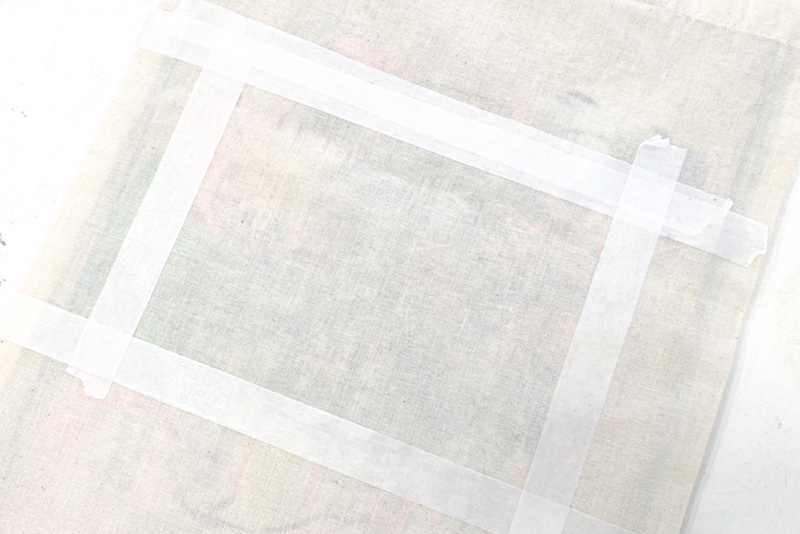
When preparing the artwork for the screen, I shared a tip to make a small gap between the artwork and the trim marks. Now you can see why. It was for making room for the masking tape! If there is no gap, you might accidentally stick tape over the artwork and accidentally mask it off , so it’s a very handy tip.
Okay, now we’re ready to print!
Finally time to print!
This time I will be printing in the following order: Y (yellow) →M (magenta)→C (cyan)→K (black).
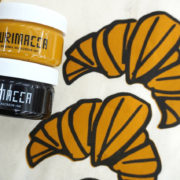
First I will start by printing Y (yellow) . I will use SURIMACCA’s “Yellow” ink.
As I have placed two artworks on one screen this time, I will use masking tape to mask off the other nearby artwork to prevent ink from spreading and bleeding through. Also make sure the trim marks will be printed onto the previously taped areas.
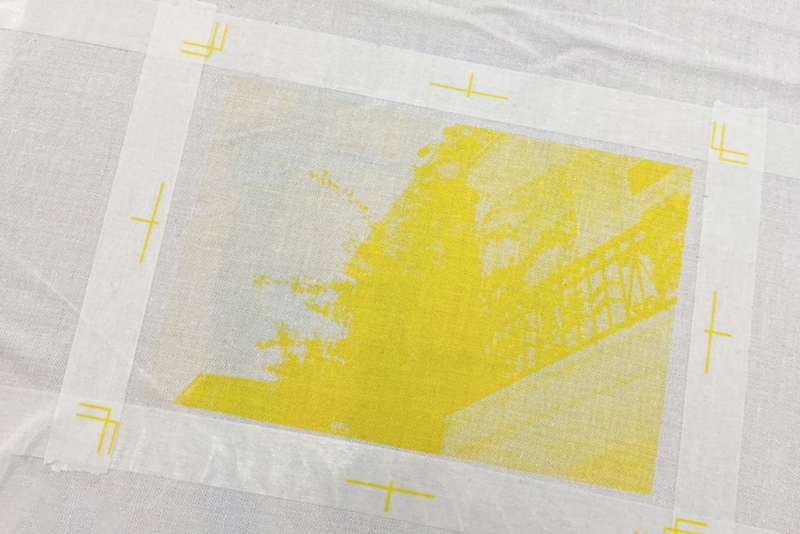
The first color turned up like this. The yellow trim mark is visible, so we can align the rest of our artworks to it. Make sure the print is completely dry before moving on to the next color.
Let’s print the next color, M (magenta)! I will use SURIMACCA’s “Neon Pink” ink.
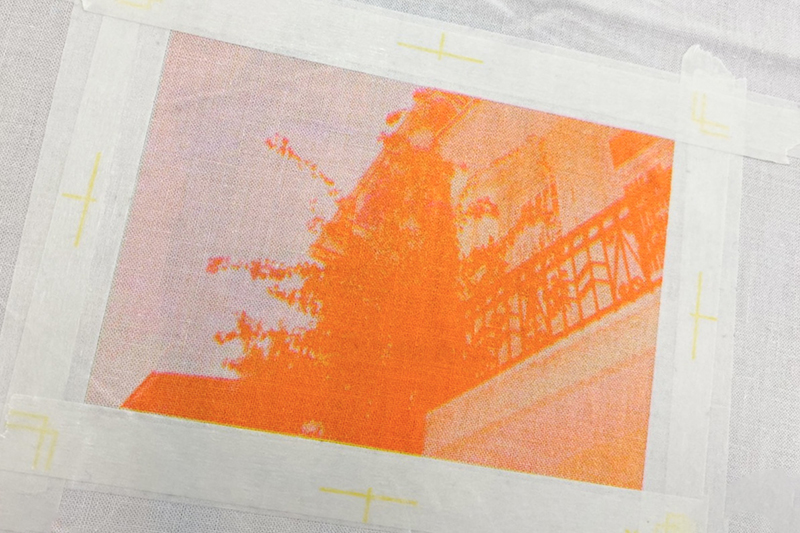
So far so good!
Next up is the third layer C (cyan). I will use SURIMACCA’s “Blue” ink.
When the cyan layer is printed, you can see the image is all coming together and looking more like a photo!
Finally it’s our last layer: K (black). Of course, I’ll use SURIMACCA’s “Black” ink for this one!
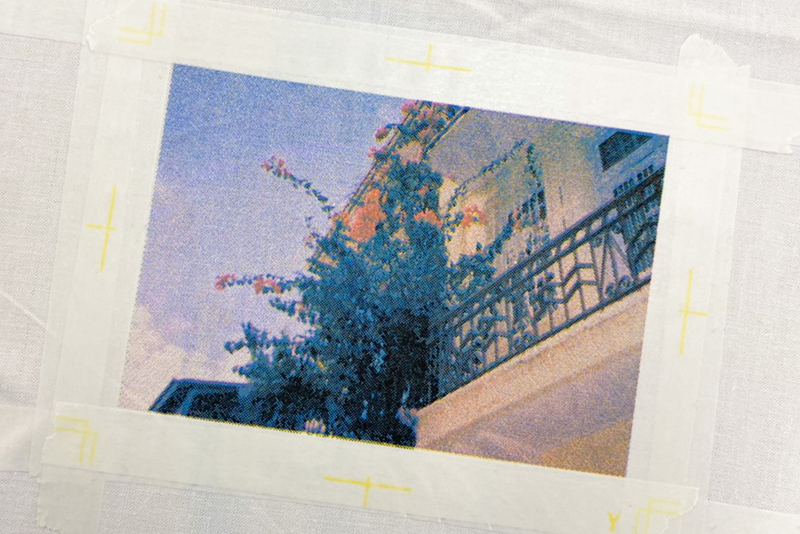
We made it! With the black layer added, there is now more of a contrast.
I managed to print a photograph on fabric without any problems. Finally, remove the masking tape we used for printing the trim marks. If you let it dry thoroughly, the ink will cure and the color will be closer to full color.
An extra tip
By the way, this is what it looks like when printed on black fabric.
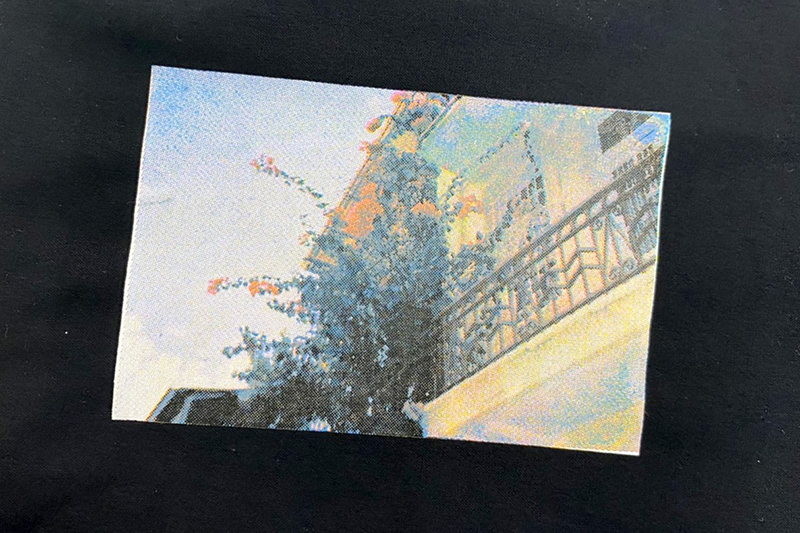
Since SURIMACCA ink is water-based, if you print on dark colored materials such as black or navy blue, the color of the material underneath will show through and the ink may not be as vivid. If you printing on dark backgrounds, it’s best to print a solid fill with white ink first and print over it, so as to have a vibrant outcome.
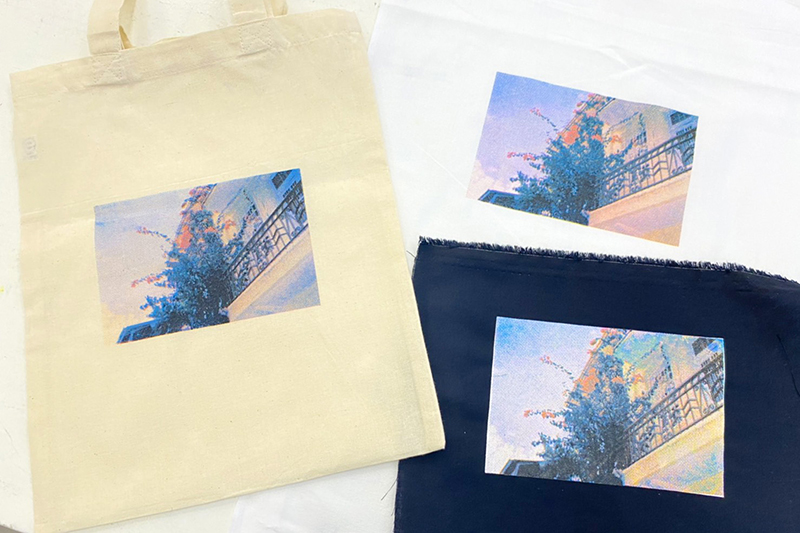
The final result looks like this. I printed on both white/black fabric, and a plain tote bag. The color of the print on an unbleached cotton bag is not as bright as the white fabric. But personally I like it as it looks more retro!

How does it look compared to the original photo?
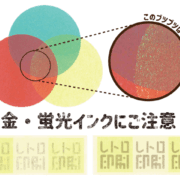
This time I used SURIMACCA inks: Blue for C(cyan), Neon Pink for M(magenta), Yellow for Y(yellow) and Black for K(black), but the finished image will look different depending on the ink.
In this case, the sky is a pale blue, so using Aqua ink instead of Blue may have resulted in a closer outcome to the original photo.
Our staff have been experimenting with photographic images and ink combinations, so check our other JAMLAB articles out too! Have fun finding your favorite inks and combinations!
SURIMACCAは、シルクスクリーンの製版サービスやオリジナルキットの開発のほか、シルクスクリーンの作業場を全国に拡げるプロジェクトを行っています。『JAMLAB』ではリソグラフやシルクスクリーンを使った実験や遊び方を紹介しています。
- SURIMACCA
- https://surimacca.com/
- 06-6485-7350(10:00~19:00)