Out of all the many ways to align multi-color prints, let’s take a look at the tricks our staff use.
Previously, we shared “Tips to align multi-color prints – part 1”
This is the second series in which I will show you how registration marks can come in use.
If we had special printing presses like professional factories, multi-color printing would be much easier, but as our open access studios aren’t as equipped, our staff have learned ways to work around it!
Of course, it’s something you can try out at home too!
First prepare your artwork
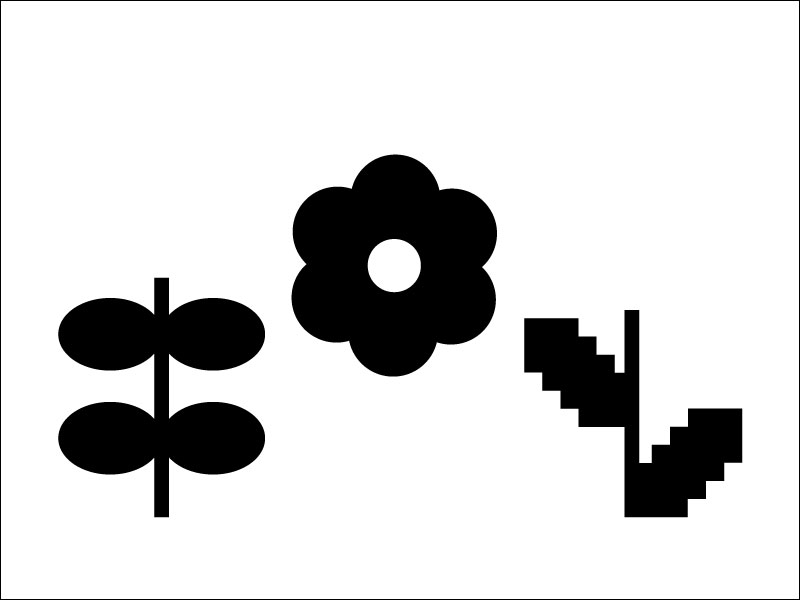
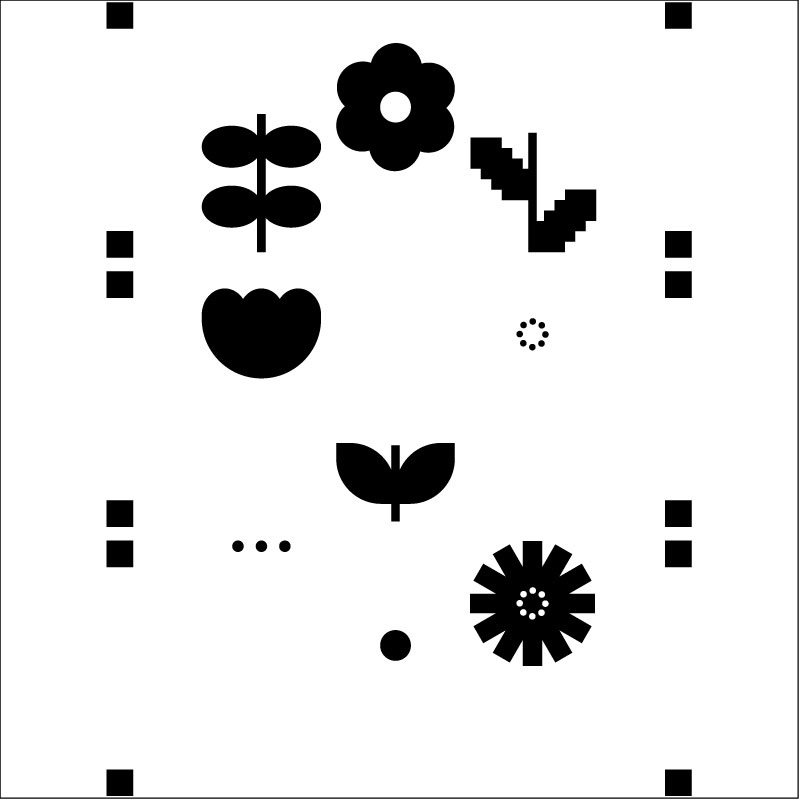
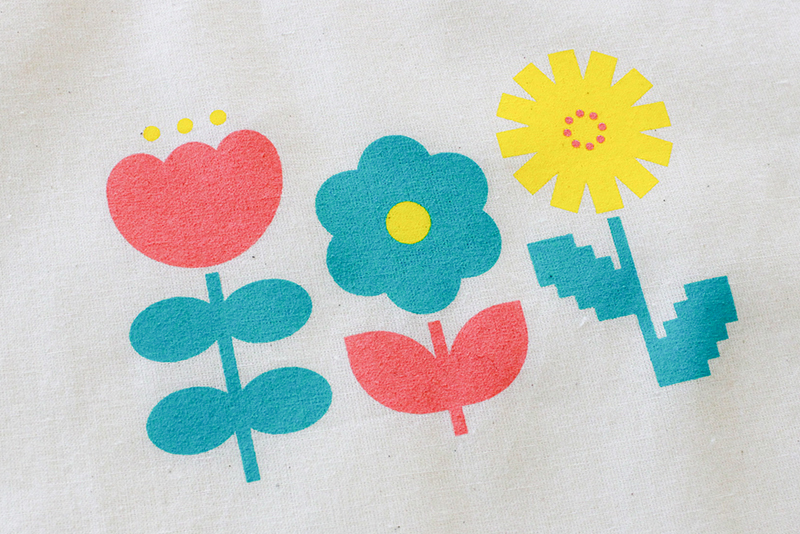
I will be using this image today.
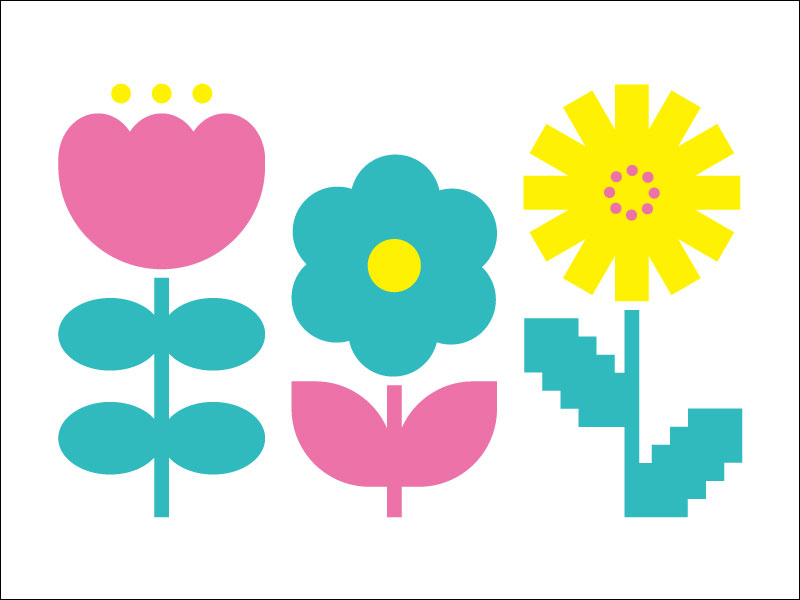
The image has three colors in total. I have made the artwork on Illustrator.
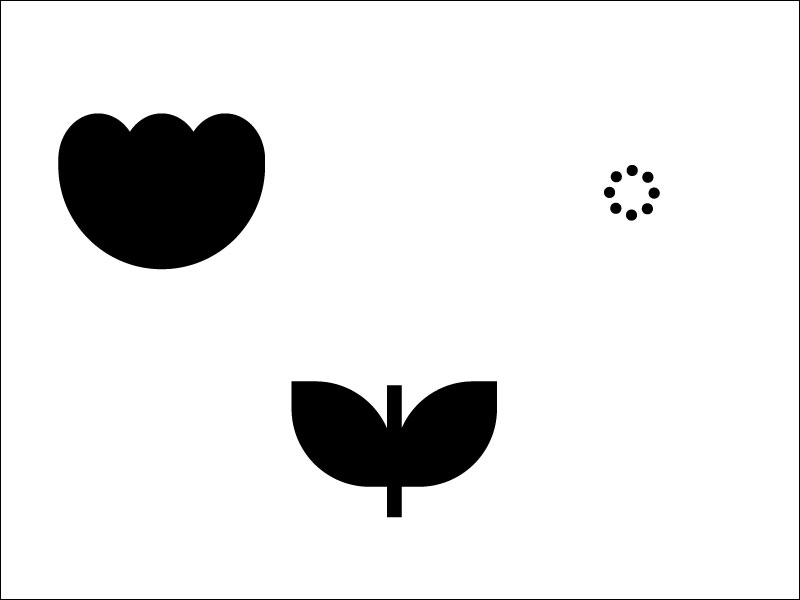
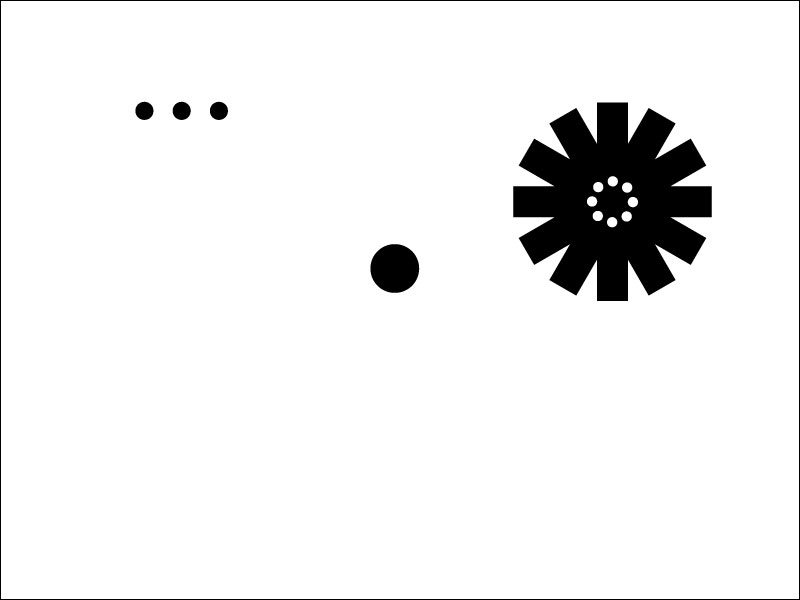
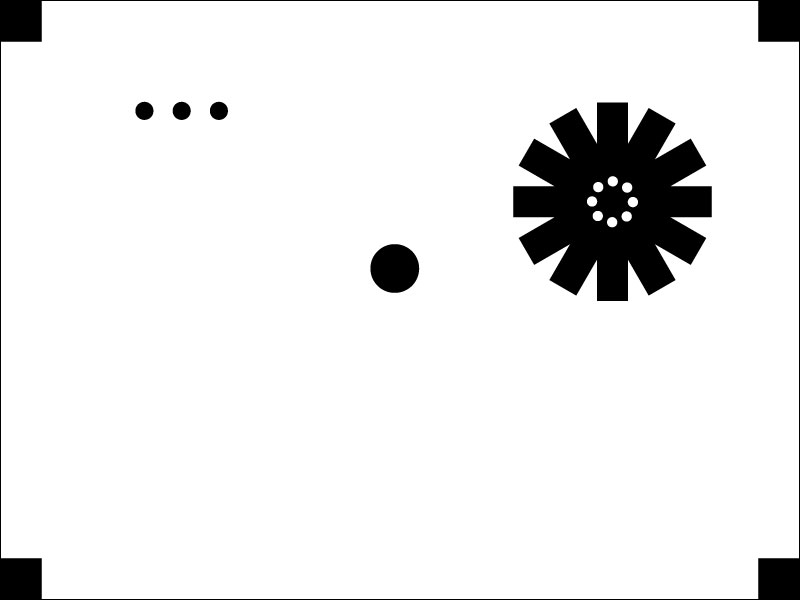
When separated into each color, it looks like this.
Normally separating the colors is all you need to do to prepare your artwork for screen making, but this time we will add an extra trick.
The trick is to simply add registration marks!
Add a solid square (Like this one: ■) in the size of around 1cm × 1cm in all four corners of the design.
Please place them a little farther away from the design.
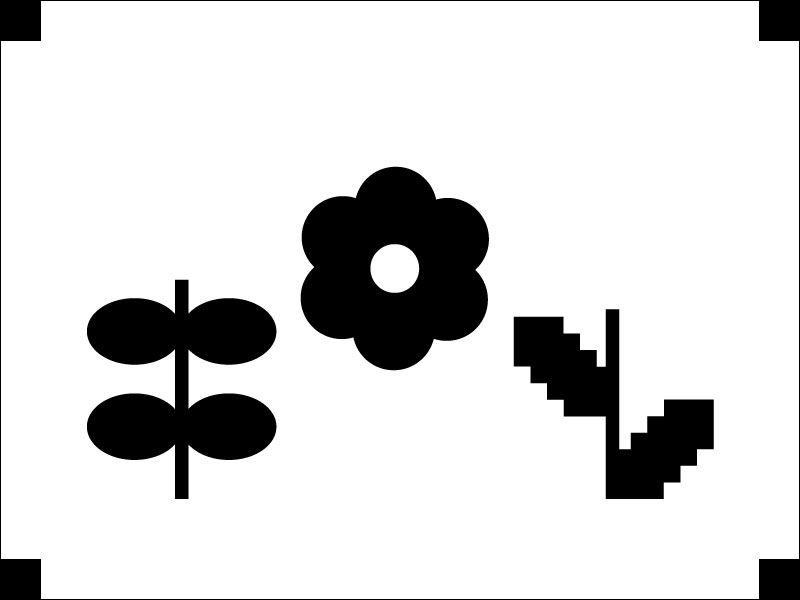
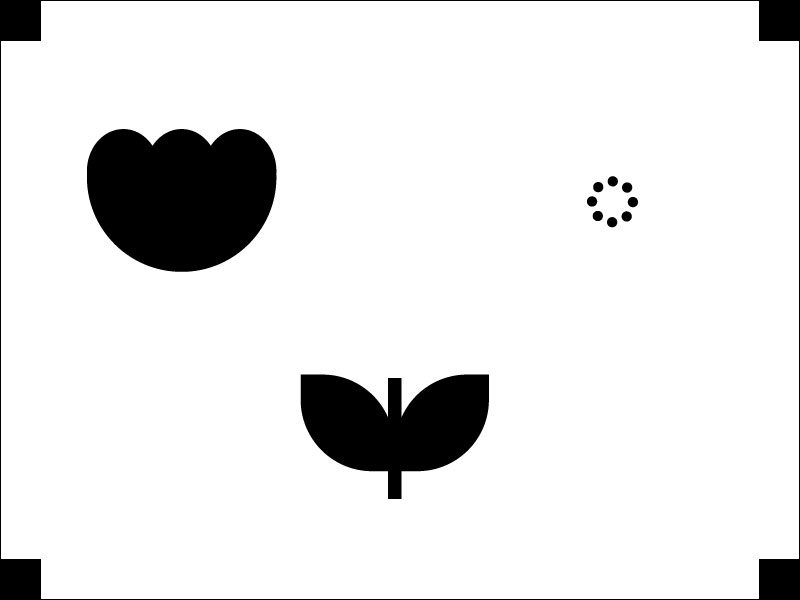
Don’ t forget to add the squares on all the color layers.
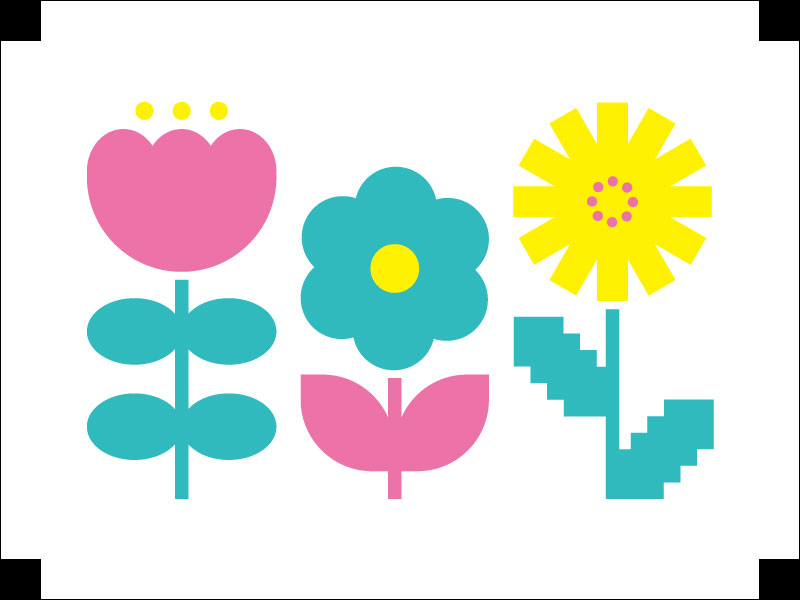
As you can see, by aligning the squares, you will be able to get a perfectly aligned image.
*To make it clear, I have colored the artworks to mock-up the final result.
If you are using Illustrator or other graphic software to add trim marks, make the lines thicker than 2pt as it will make it easier to align.
Now the artwork is ready for screen-making!
Precautions on screen sizes
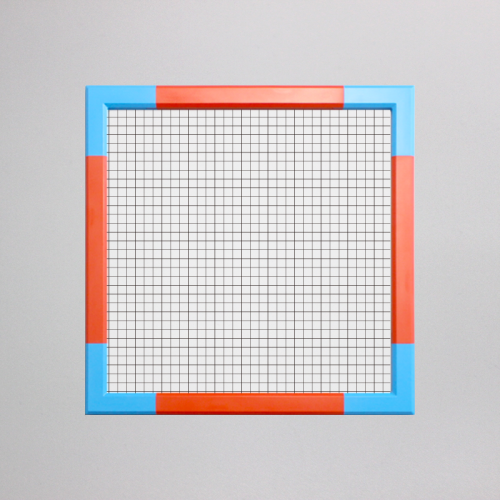
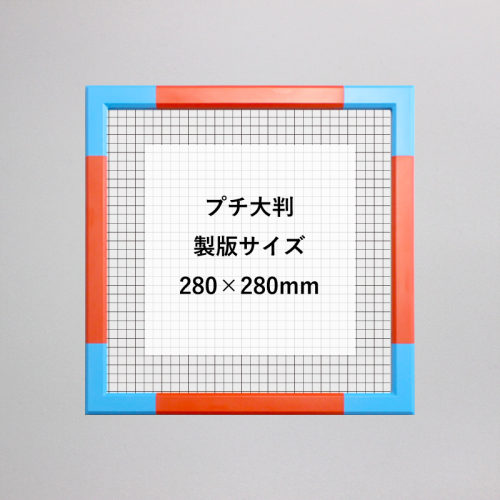
For this method, our MINI OBAN (or OBAN or SUPER OBAN) size is recommended!
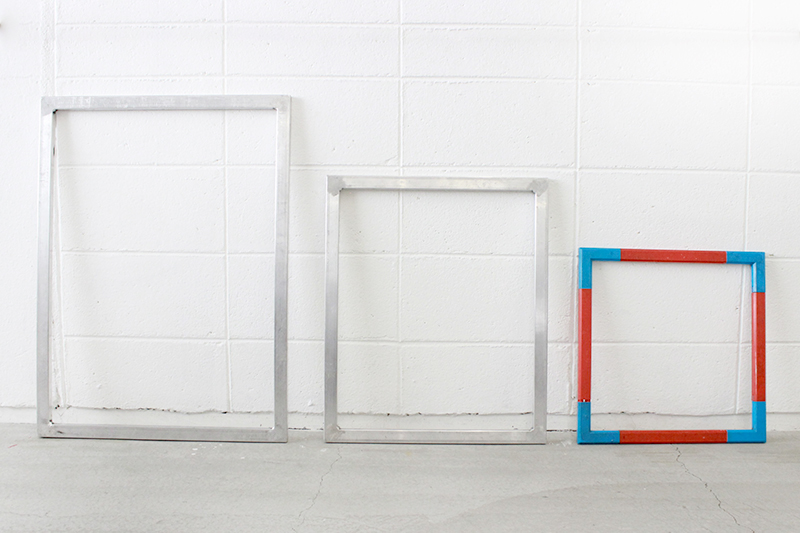
The reason for this is that our XS-L size screens need to be made before stretching onto the frame. Therefore when screens get stretched onto the frame, some distortion will inevitably occur. This means that even if you make screens with registrations marks, when they are set onto the frame, they will not align perfectly.
It is possible to minimize distortions by carefully stretching the screen, but it will still be difficult to make all squares fit perfectly.
The steps of making screens for MINI OBAN or OBAN/SUPER OBAN sizes (exclusive to JAM’s open access studios) are different to the making of XS-L size screens. The screen mesh is stretched onto the frame first and then the screen is made. This is why there will be no distortion for MINI OBAN, OBAN and SUPER OBAN screens.
Please refer to this article (Japanese only) for the process of screen making MINI OBAN, OBAN and SUPER OBAN sizes.
Considering the above, if you want to align multi-color prints perfectly, we recommend the MINI OBAN (or OBAN/SUPER OBAN) size.
*Please kindly note the OBAN and SUPER OBAN sizes are available only at our open access studios, and are not available in our ONLINE STORE.
If you order the MINI OBAN from our online store, we will deliver it to you with the screen stretched onto the frame, so you can start printing right away!
If you come to print at our open access studios, we will rent you the frames and our staff will guide you how to stretch the screen, so there’s no need to worry!
This time, I placed three artworks of each color layer onto one MINI OBAN screen.
I’ve packed them in quite tightly, but it’s fine as long as you mask off the unwanted areas when printing, so as to prevent ink from spreading and bleeding through!
*Generally it is recommended to leave at least 3cm of a gap between each design.
Preparation before printing
The last steps before printing.
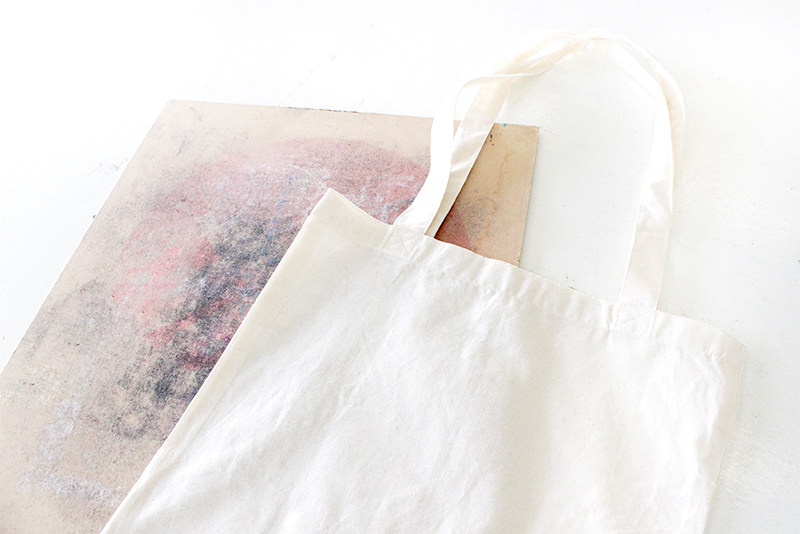
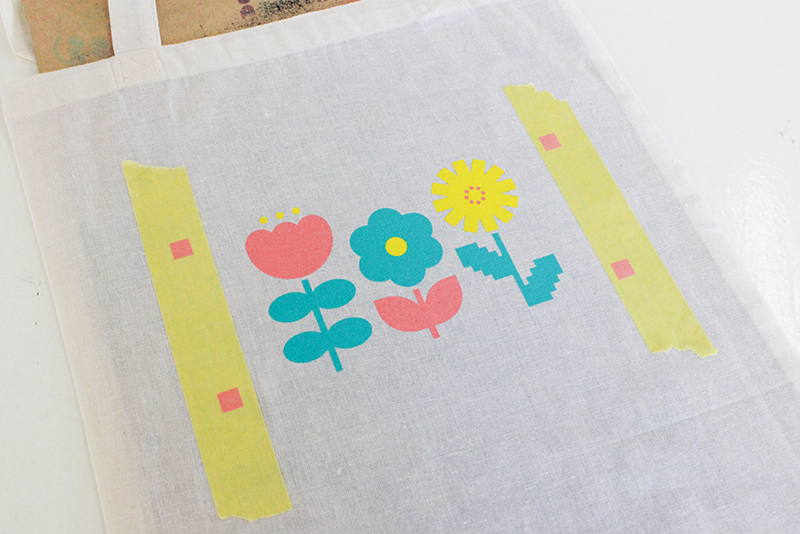
Insert a piece of thick paper or a wooden board in/under the material to be printed.
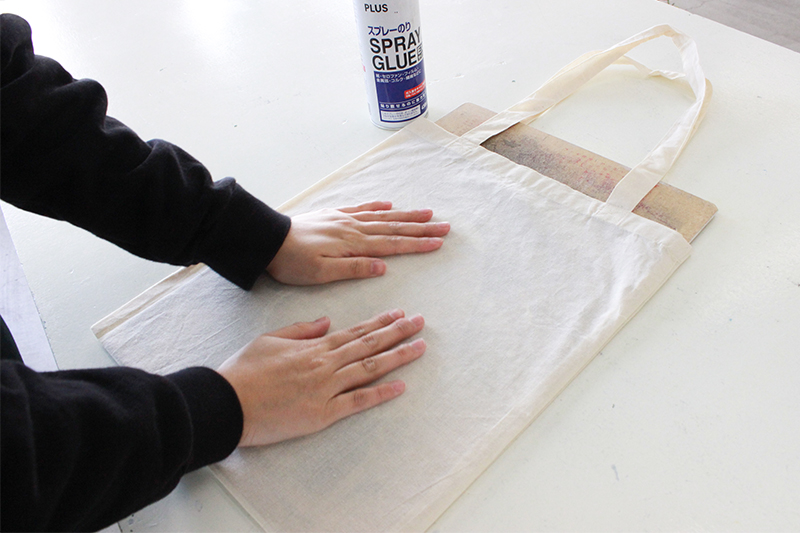
When printing on fabric, lightly spray the board (or thick piece of paper) with spray mount and stick it firmly to the board, stretching out the wrinkles.
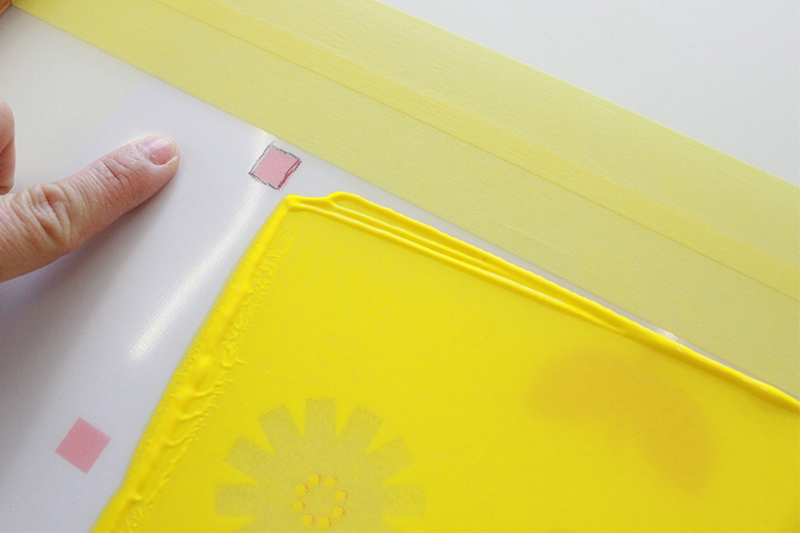
You don’t want the squares to be printed onto the material, however, you will need them to be visible for aligning… This is when masking tape comes in handy!
All you need to do is apply masking tape on the material beforehand to prevent the squares■ from being printed directly on the material.
Place a full scale copy of the artwork on the material where you wish to print.
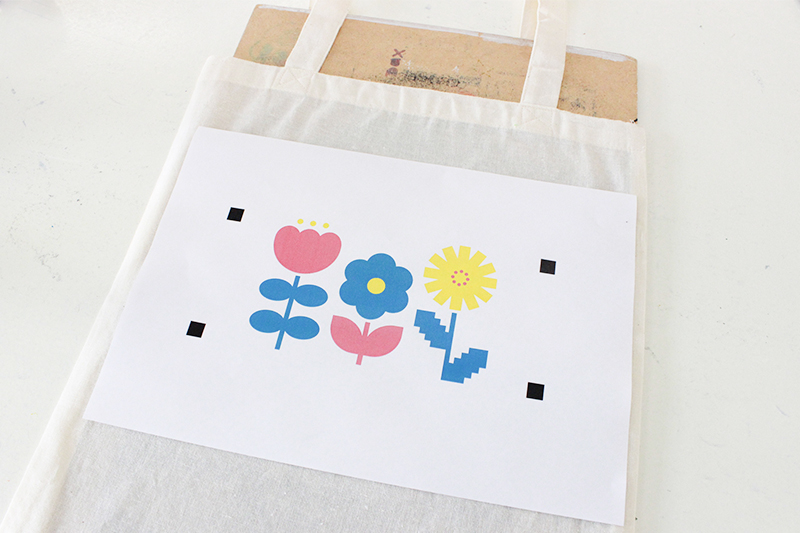
Then apply masking tape onto the areas where the the squares■ will be oositioned.
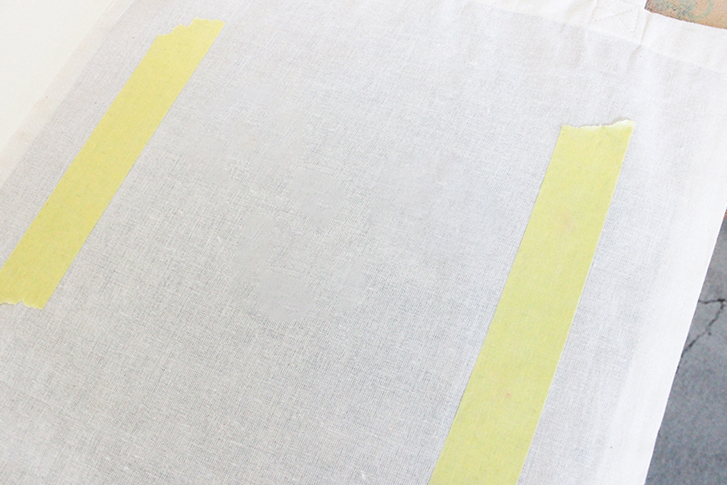
Be careful so that the masking tape will not be in the way of the artwork.
So now, the squares ■ will be printed on the tape and you can just remove the it at the very end.
This process is necessary for all the materials to be printed.
It can be a bit of a challenge if you have a lot of pieces to print on, but you will get the hand of it!
That’s all for pre-print.
Good preparation is key for the printing process to go smoothly.
Print first color
After a long explanation of the preparation process, it’s finally time to print.
If you’re used to printing with large screens, you may be able to hold the MINI OBAN frame with one hand and print with the other, but if that’s not the case, it’s better to have someone else hold it for you.
Now, place the screen so that registration squares ■ will sit on top of the masking tape you applied earlier.
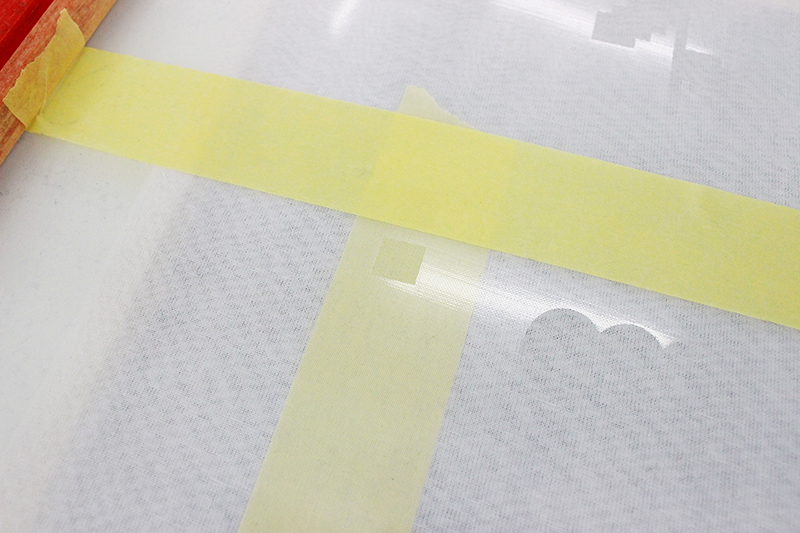
If the squares ■ are difficult to see, you can use a marker pen to outline it.
Let’s print! Make sure the squeegee goes over the squares so they will be printed together.

The first color in Coral ink has been printed.
If you are making more than one, repeat this until all of your materials have the first color printed.
The important thing is to leave the board inside even after printing. If you remove or change the position of the board, the prints will not align from the second print.
Also leave the masking tape and dry the first color with a hair dryer.
Gently touch the inked areas to check if it has fully dried. If ink does not come onto your fingers, then it’s ready to move onto the next step.
Print second color
Move onto the next color.
Layer the screen for printing the second color over the first color. Align the square ■ of the second layer so it will fit the squares ■ already printed with the first color.
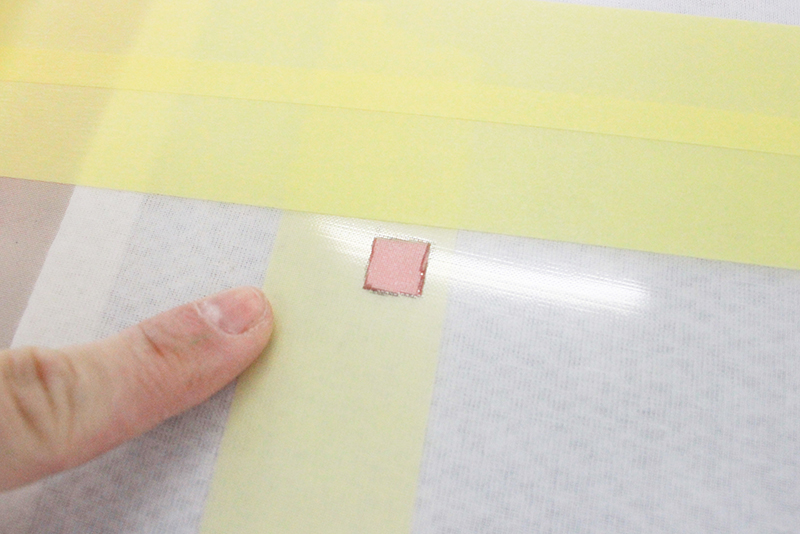
I traced the outline of the square with a marker pen. It makes it a little easier to see.
Press the screen gently with your finger and check whether the four squares are lined in the correct spot.
When it’s aligned, it’s time to print.
From the second layer, do not print the squares.
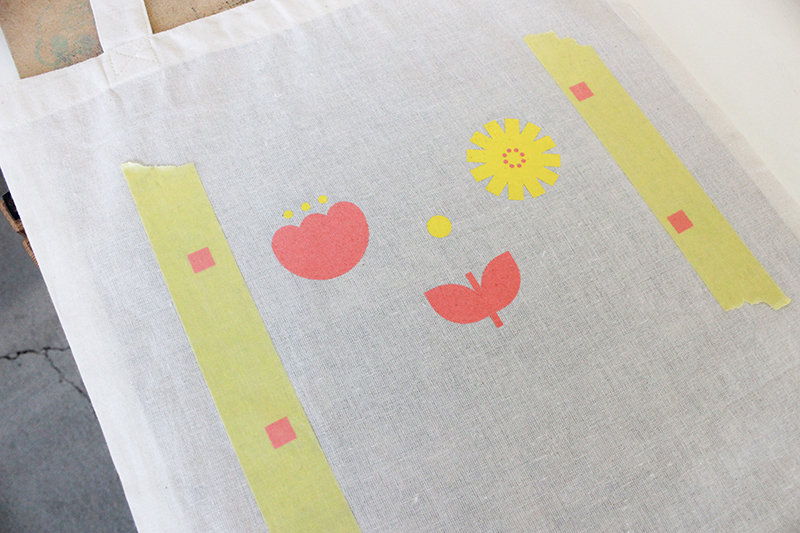
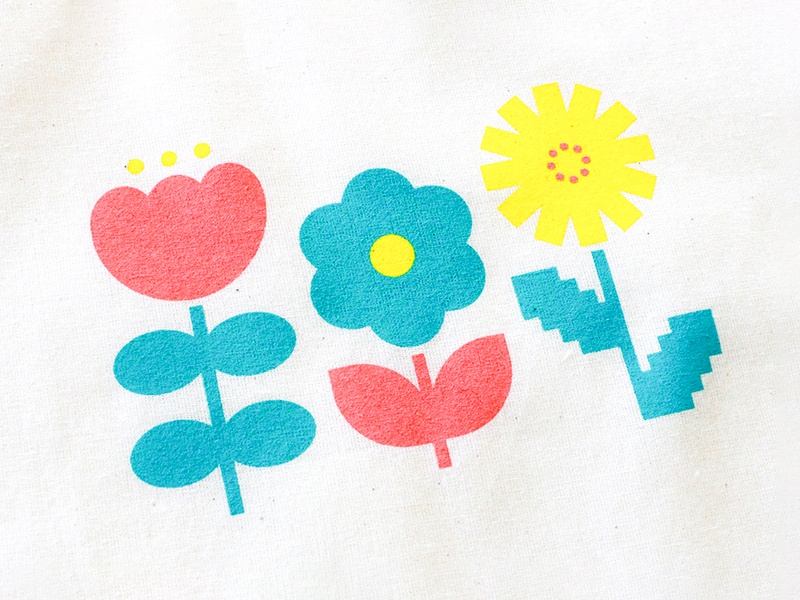
It’s printed!
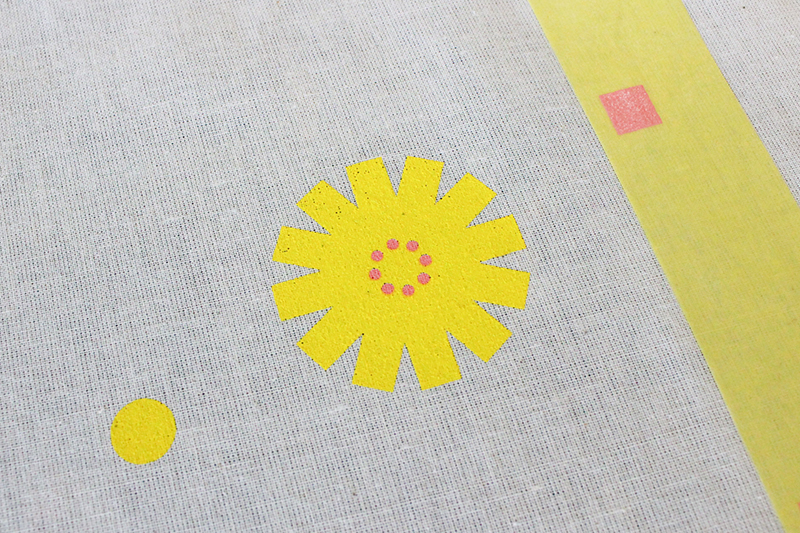
You can see that even the fine knock-out areas of the flower on the right side are perfectly aligned!
When it’s the first pull, the screen is clean and is easy to see where the design will end up, but after the second pull, the ink will be covering the screen and will be difficult to see through it.
In such cases, it can be extremely difficult to align. However if you add registration squares ■ like we have this time, it will be very easy to align as the squares will be your guideline!
Let’s print the third color in the same way, by matching the squares.
Finally, remove the masking tape and you’re done!
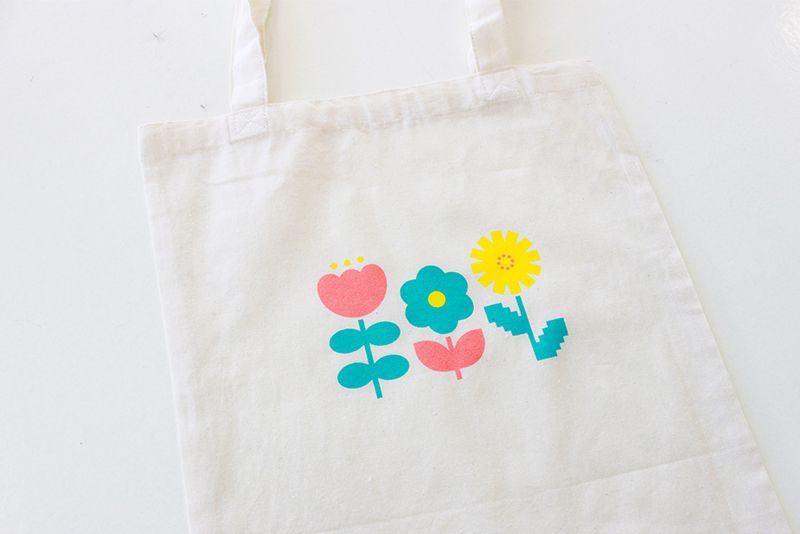
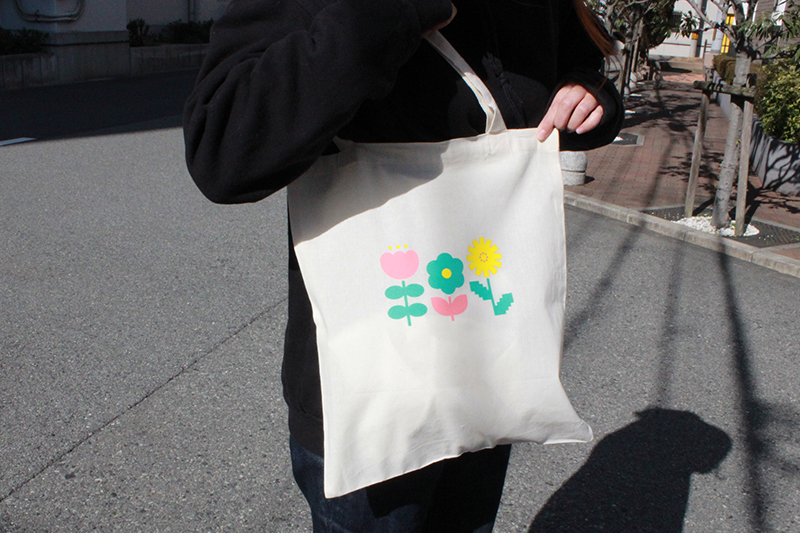
It’s a three-color print, but the colors have matched up perfectly!
When the print is ready, dry the ink’s surface with a hair dryer, and then iron it to cure.
If you are air-drying it, please leave it for a whole day.
Summary
Multi-color printing requires time, effort, and will cost more because of the number of colors, but because of that it will give you a sense of accomplishment when it’s done!
In the previous article “Tips to align multi-color prints – part 1” I showed you how to align layers using a clear plastic folder and this time, using registration marks. It’s difficult to say which one is better because it depends time to time.
When printing on paper, thin fabrics, or small surfaces, we recommend using a plastic folder. Please note this method requires a printing press or holders to secure the frame in place.
For t-shirts, large bags, and thick fabrics, I recommend this method of adding registration marks. The good thing is that you can align without using presses or holders.
However, if you are going to use registration marks to align, we recommend using MINI OBAN, OBAN, or SUPER OBAN sizes!
This is just a trick recommended from our staff, so please experiment and find a way that works for you best!
Products used in this blog
* Only domestic shipping is available at our online store.
MINI OBAN frame(with screen)
¥5,852(Tax included)
Check Product
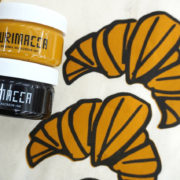
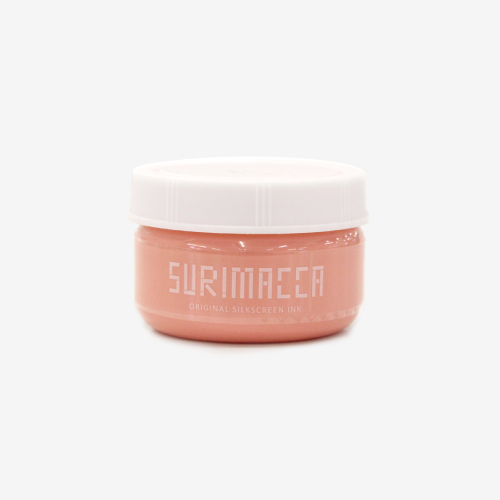
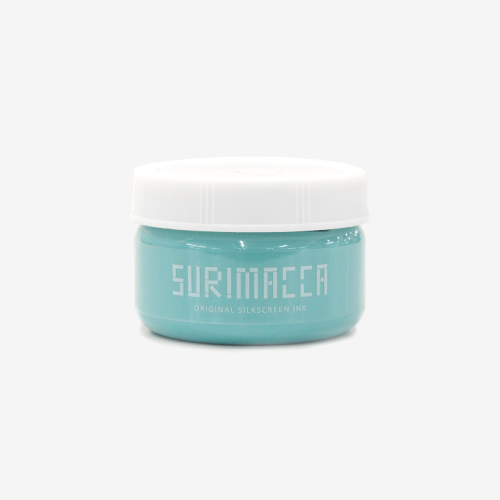
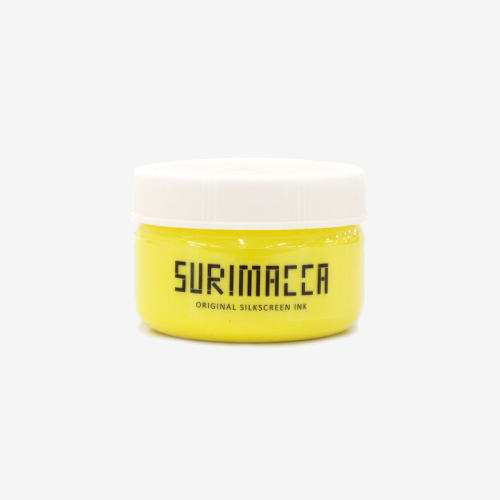
SURIMACCA Ink(Coral/Mint/Yellow)
¥770(Tax Included)
Check Product
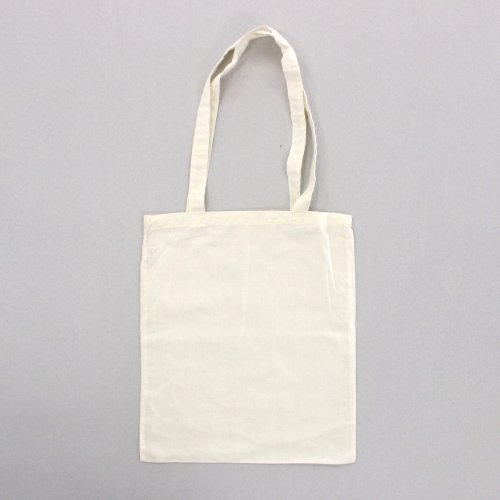
Shoulder Tote(Natural)
¥330(Tax Included)
Check Product
SURIMACCAは、シルクスクリーンの製版サービスやオリジナルキットの開発のほか、シルクスクリーンの作業場を全国に拡げるプロジェクトを行っています。『JAMLAB』ではリソグラフやシルクスクリーンを使った実験や遊び方を紹介しています。
- SURIMACCA
- https://surimacca.com/
- 06-6485-7350(10:00~19:00)