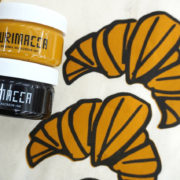
Multi-color-printing is something you’ll want to try once you get the hang of screen printing.
One of the most difficult aspects of multi-color printing is aligning the colors.
If you’re printing in two colors, it’s not too bad, but the more colors you use, the more difficult it becomes…
A slightly misregistered print has its own charms, but who doesn’t want to have a perfectly aligned print!
It’s actually possible to register multi colors, as long as you’re well prepared and have the right tools. I’ll share some tricks so that once you read this blog, you won’t be afraid of multi-color printing anymore!
This time I will try printing a postcard with five colors!
The key item for registration is surprisingly something everyone has at home.
Prepare artwork
The first step is to prepare the artwork.
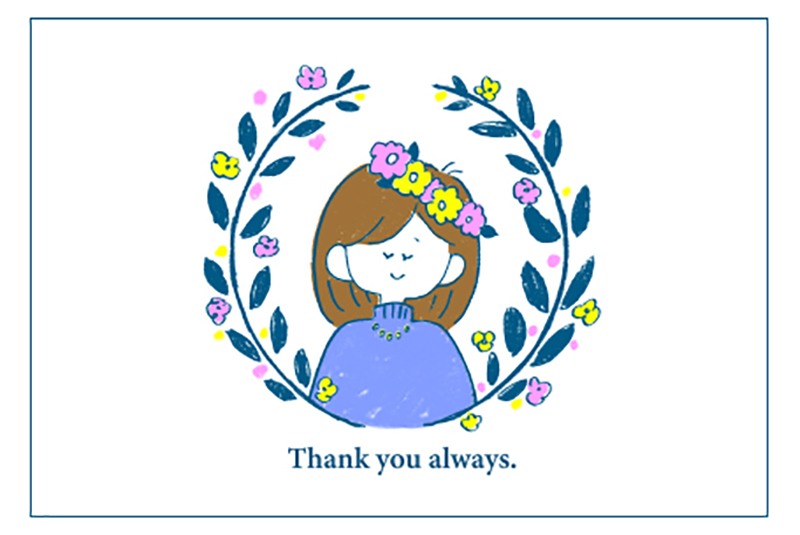
To make the artwork ready for screen printing, the colors need to be separated into layers and then each layer needs to be converted into grayscale.
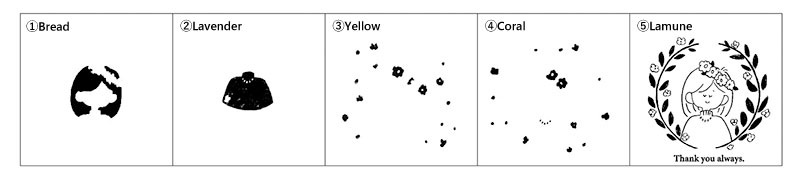
This time, I hand drew the illustration and then traced each color by hand using a tracing light box. Then I scanned each layer and converted them into jpeg files on the computer.
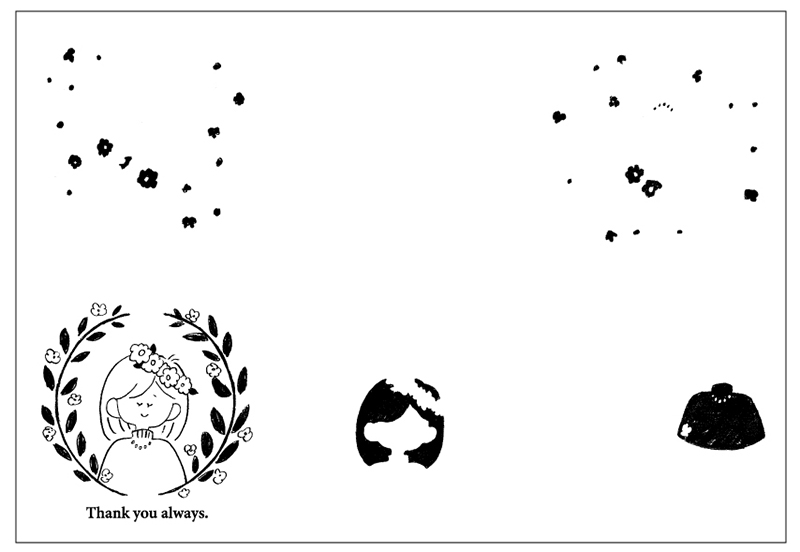
I managed to place all images on a M size screen (200x290mm).
It is easier to print if you leave enough space in between each image.
Prepare tools
Here are the tools you will need for multi-color printing.
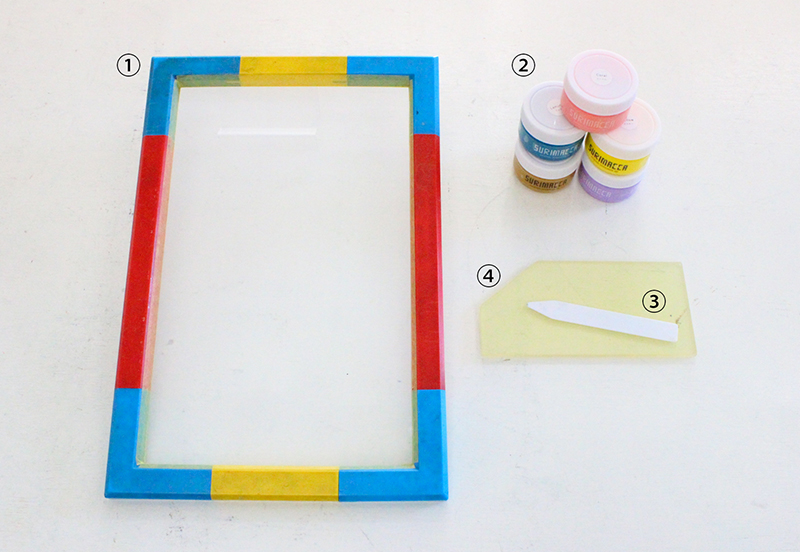
First, prepare the basic tools for screen printing.
①Screen(M Size for this project) ②Ink(All the colors you will print with) ③Spatula ④Squeegee
And here are the useful tools for multi-color printing.
⑤Masking Tape ⑥Holder ⑦Holder Panel Mini
⑧Spray Mount ⑨Printout of Sample Image ⑩Clear Plastic Folder
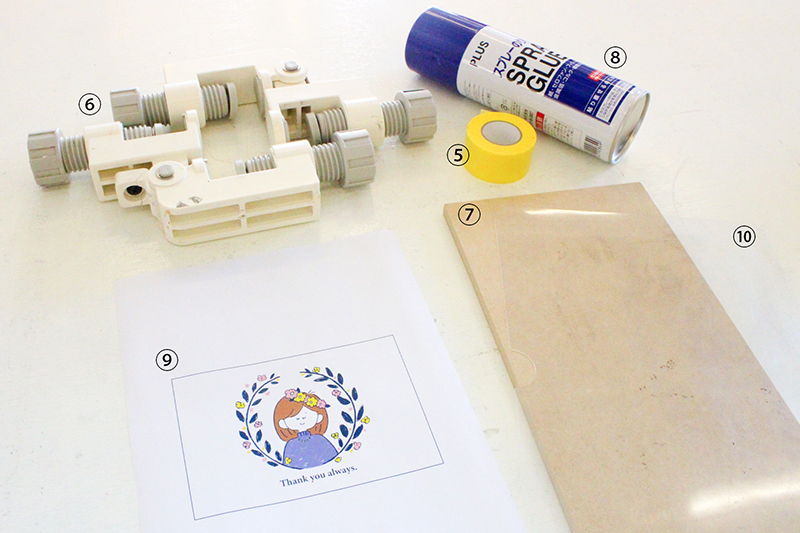
The clear plastic folder is most important tool!
This is the key item for multi-color printing. I guess it’s something everyone has at home. (You can hardly see it in the picture but it’s there!
I cut off the bound edge with scissors and made it into a single sheet so it is flat.
Be careful with the order of printing
When printing with many colors, the order of printing is also very important.
Basically, it is best to print in the order of fill, then print the lines over it.
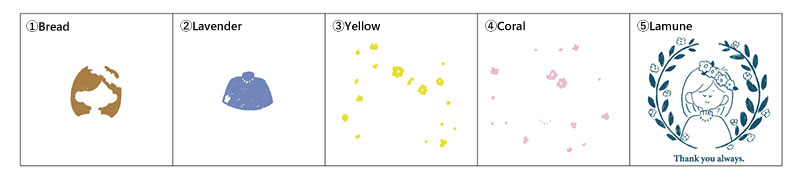
This time I will print with the above order.
In screen printing, the inks that your print later will sit on top and have a stronger outcome.
Therefore, if you print the outlines first and then print areas of fill over it, the outline may become invisible, so it’s something to keep in mind!
If you have several solid areas, you may want to prints the one with the largest area first.
Set the frame
Let’s set the frame when you have prepared your tools.
First I will use a ⑥Holder.
After fixing the bottom screws of the Holder to your work table, set the frame with the top screws. If the image to be printed is too close to the Holder, your hand might hit the Holder and it will be difficult to print. Even if it means the image will be printed upside down, it is best advised to keep as much distance as possible between the print image and the Holder.
Due to the manufacturing process of the Holder, there will be a small gap in between the frame and table even when the frame is lowered.
This is not a problem when printing thick fabric items, but when printing paper or other thin materials like the postcard I will be today, the gap is too big…
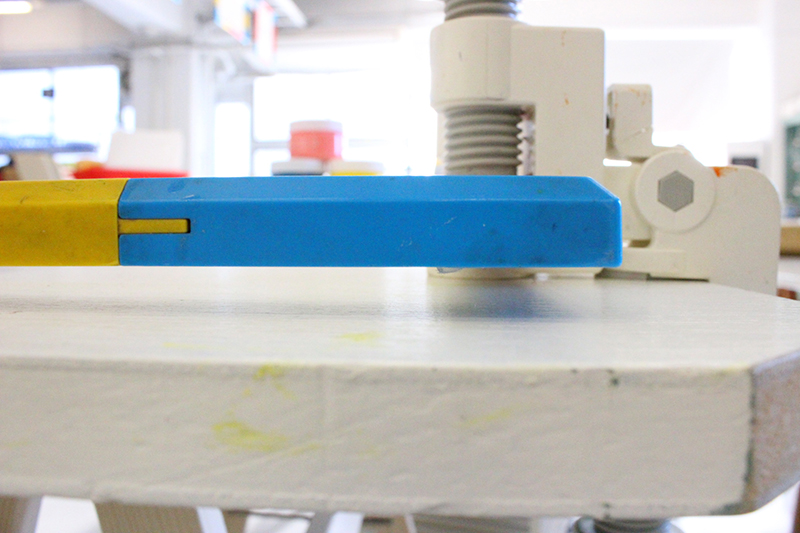
Therefore, we need to fill the space in between with a ⑦Holder Panel Mini.
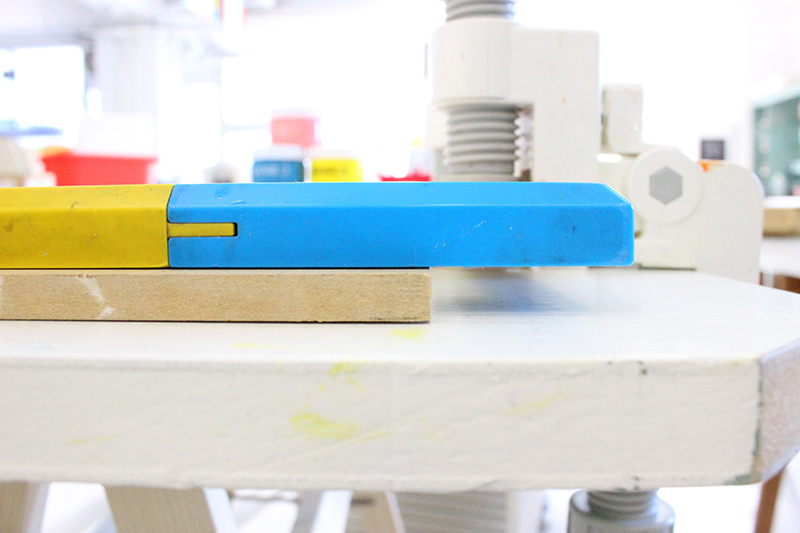
Fill in the gap by laying the panel underneath the frame.
You can use a 0.8mm thick board or paper instead.
*Please note that cardboard is not a good substitute as it has a bumpy surface.
In this blog, I will use two thin panels from our store instead.
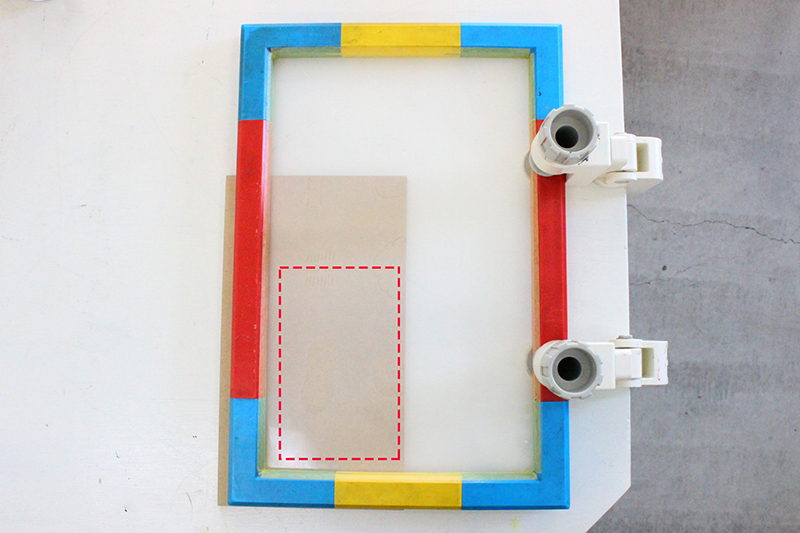
After placing the panel under the screen and making sure it is underneath the image you will be printing, use masking tape to secure the panel to the table so that it does not move.
(The panels at our store are pretty worn out… You can see how well they have been in use!)
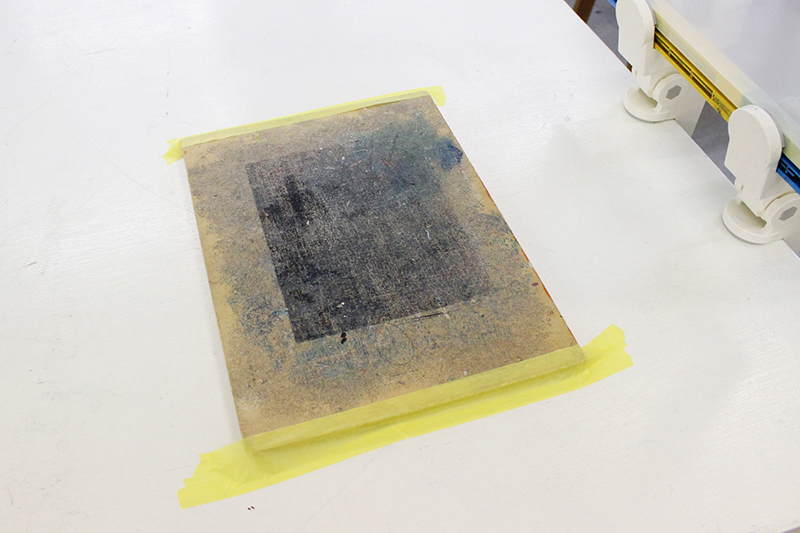
Then, place ⑨printout of the finished image on the panel. Next position the screen on top of it, and move the finished sample to align it exactly with the image on the screen.
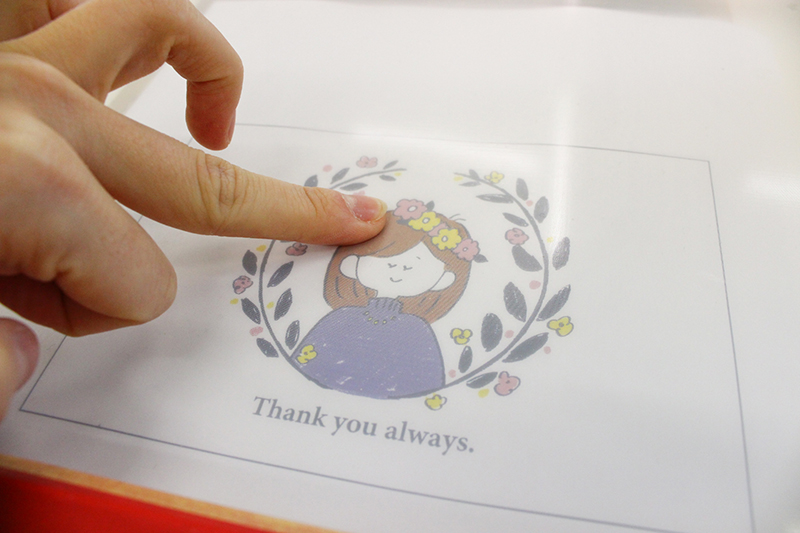
Lightly press the screen with your finger and check to see if it is aligned.
Once the screen and printout fits perfectly, secure the printout to the panel with masking tape so it doesn’t move around.
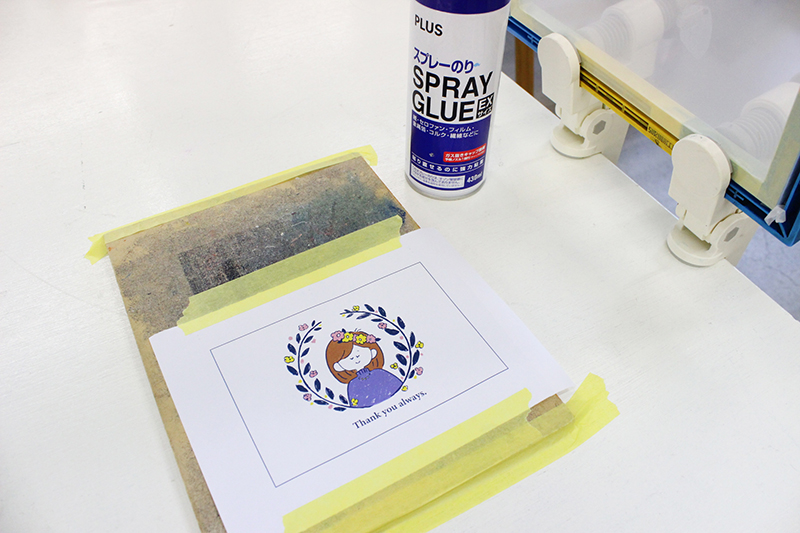
Lightly sprinkle spray mount onto the printout sample.
Then, set the postcard according to the outline on the printout sample.

Now I will mask around the image I will be printing first (in this case, the “Bread” ink layer) so that the ink doesn’t spread and bleed from the other surrounding images.
Now it’s time to print!
Print first layer
Once you’ve got it set up, start printing!
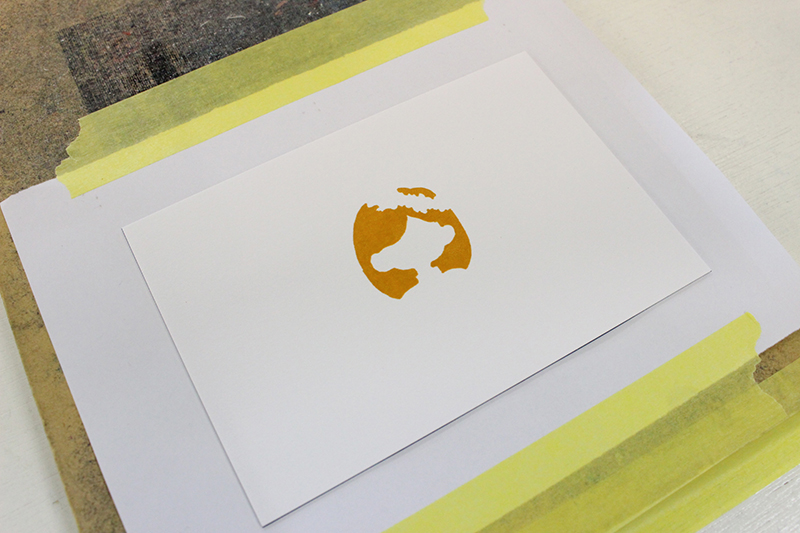
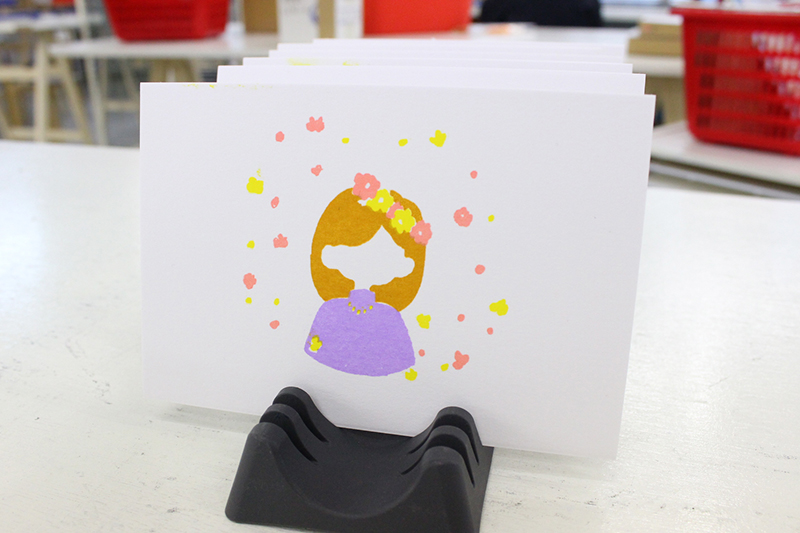
Perfect! The first color has been printed!
Remove the postcard and place the next one along the outline following the finished sample, and repeat the process until all the postcards have been printed with the first layer.
Print second layer
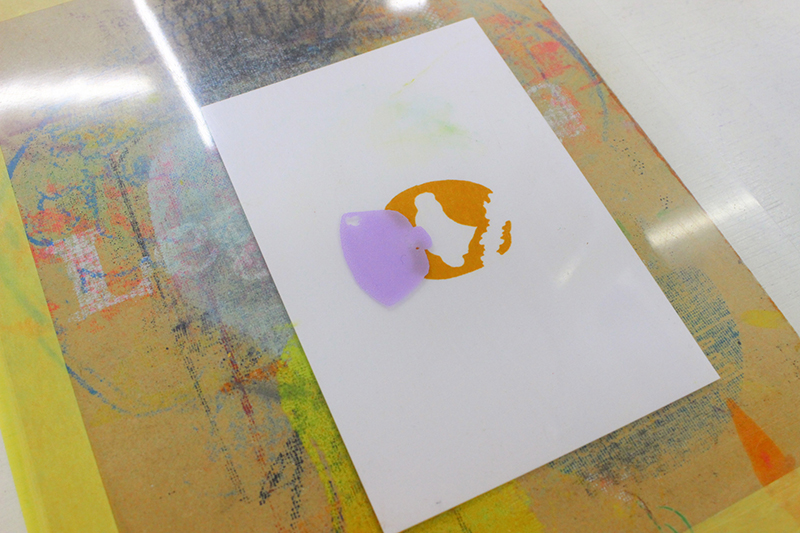
Now it’s time to print the second color.
For the second color, I will print the sweater the girl is wearing in “Lavender” ink. This part will be in contact with the hair I printed in the first color.
First, fix the Holder and frame as done previously for the first color, and place the Holder Panel under the image that will be printed with the next ink: “Lavender” . Remove the masking tape that surrounded the image for the “Bread” layer, and reattach it around the “Lavender” layer.
Just follow the same process as the first color.
From here on is the challenging part!
First of all, set the paper in an appropriate place where all images on the “Lavender” layer will fit.
You don’t need to worry about the exact position at this point.
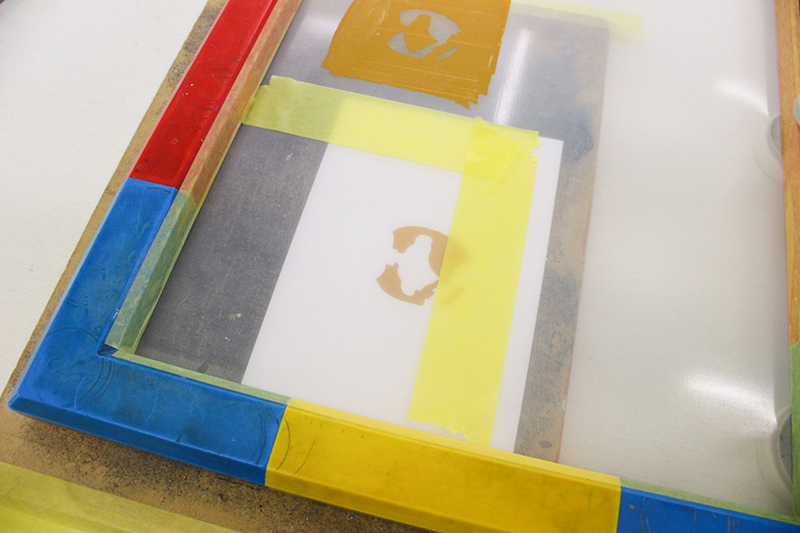
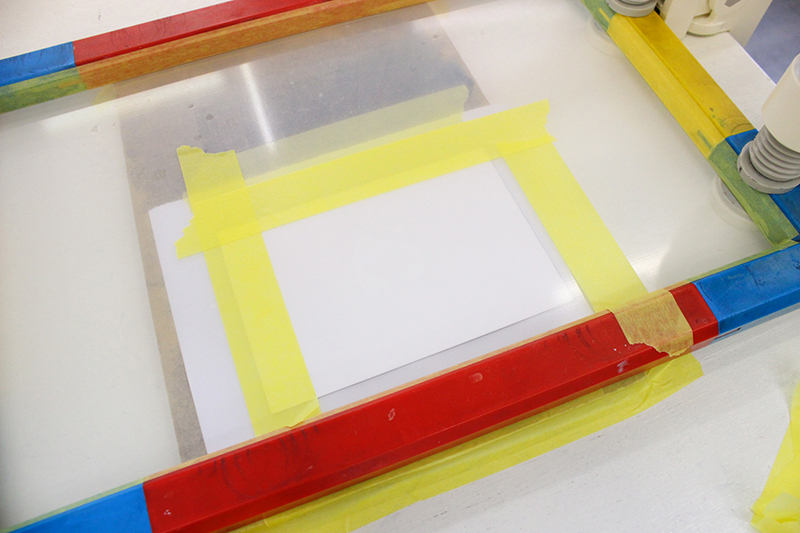
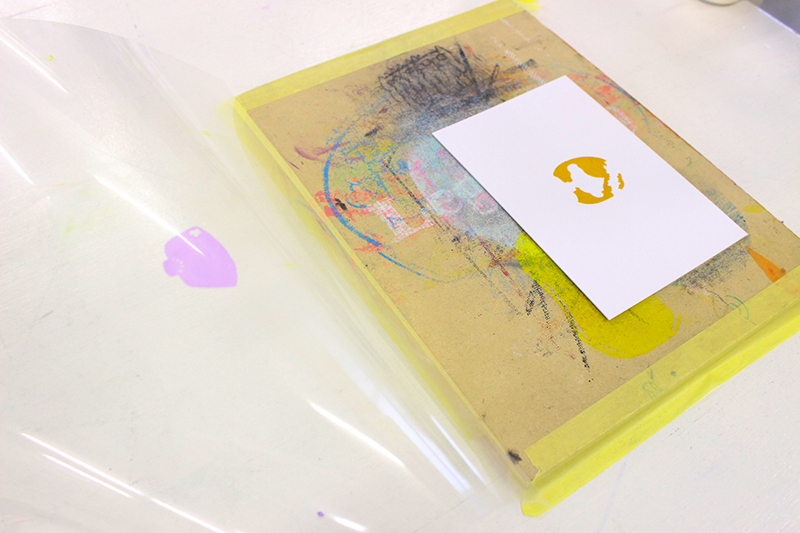
Then, raise the frame and cover the top of the postcard with a plastic clear file.
Attach one long end of the plastic folder to the board.
Cut a long piece of masking tape and stick it firmly!
If it’s not taped properly, the clear folder will shift around and it won’t do any good, so make sure its securely attached.
Once the plastic folder is set, print as usual on top of it!
Be careful when printing on plastic folders, as they are smooth and slippery.
By printing on the plastic folder, you will be able to see where the print will be.
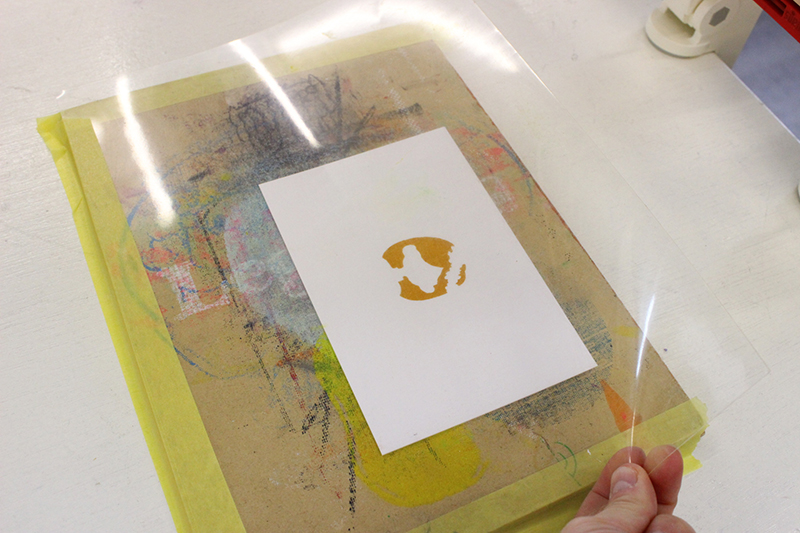
Now, carefully align the paper so it fits the printed image on the plastic folder!
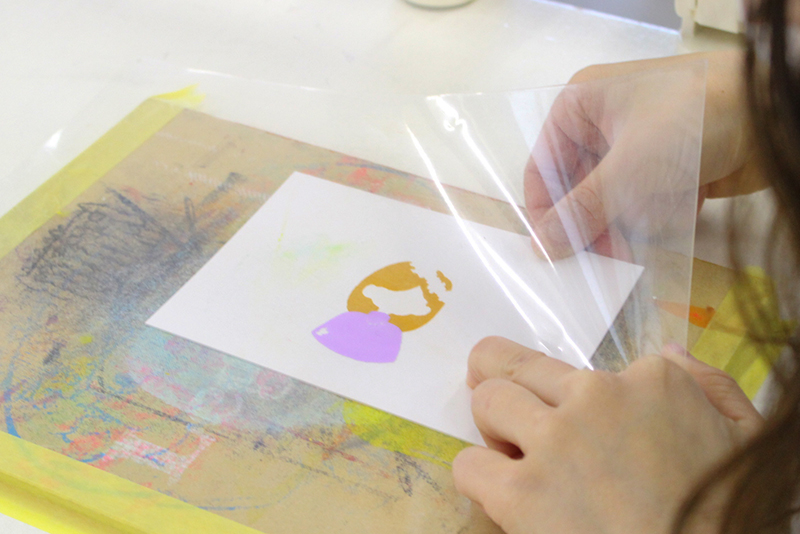
Flip the plastic folder over and print on the paper.
(Don’t peel off the masking tape that is holding the plastic folder in place!)
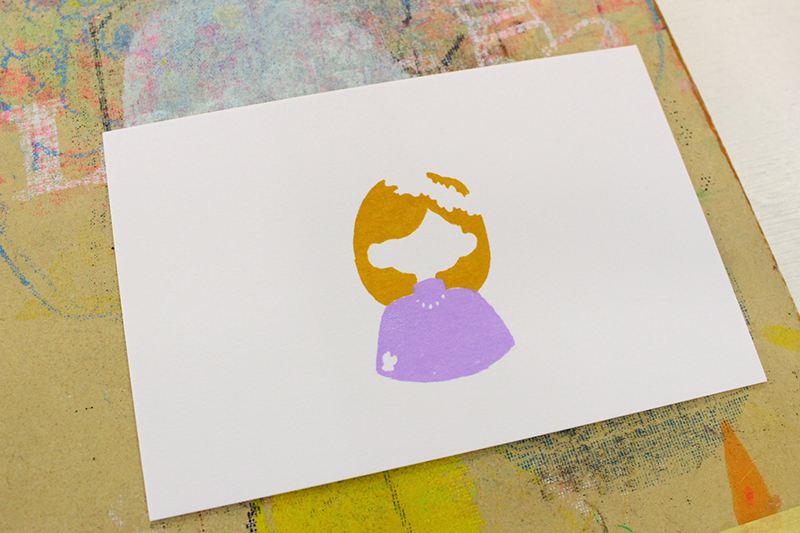
Looking good! The registration seems to have been a success!
It’s hard to tell as the whole picture is not complete, but the alignment looks really good. Let’s keep going!
Repeat the same process for the third and subsequent colors.
Set the frame→Print on plastic folder→Align→Flip plastic folder and print!
The third color is printed and so far so good! it’s exciting to see the image gradually come into view!
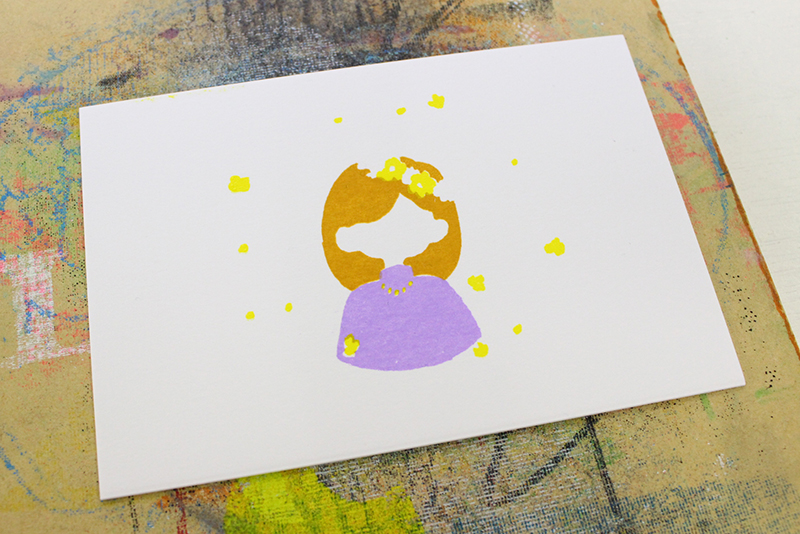
The fourth color is printed, and starting to see the whole picture!
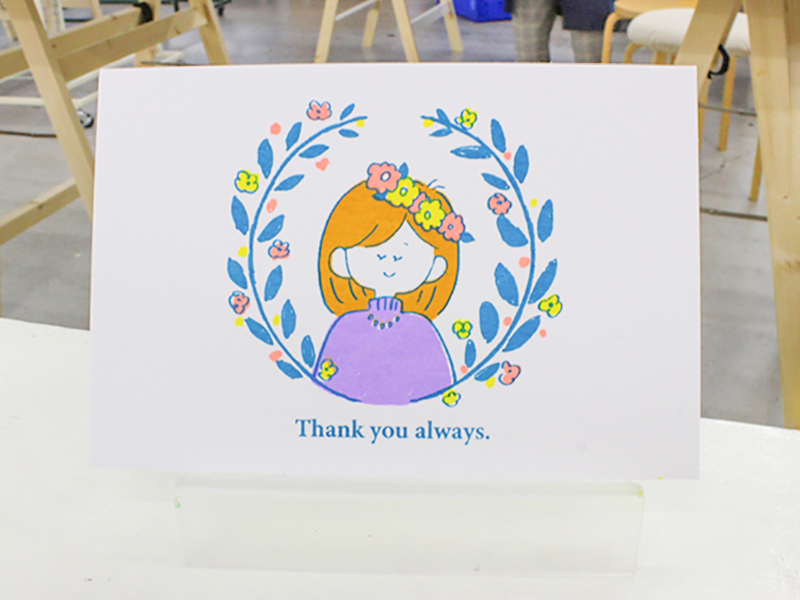
Finally the last layer with the fifth color is printed.
It’s finished!
Comped to the printout sample, you can’t tell the difference!
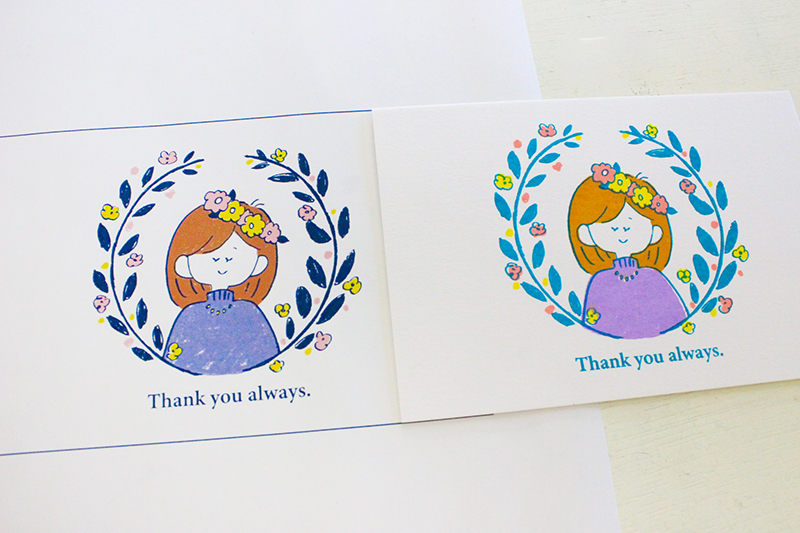
Using a plastic folder will make it much easier to align your multi-color layers than aligning by eye. Of course, as this method is done by hand, it’s not going to be exactly off the mark, but it is accurate enough. This time, I used postcards, but this method can be used for printing on pouches and bags as well.
This trick may not be suitable for t-shirts or tote bags that are larger than plastic folders, but it can be done if you can find larger plastic films or sheets.
By knowing this trick, your screen printing skills are bound to improve! Please give it a try!
You can purchase the tools introduced in out blog from our online store.
*Please note that spray mount and plastic folders are not available.
* Only domestic shipping is available at our online store.
There are many other ways to align multi-color prints. Experiment your own ideas and find a method that best suits your process.
I’ll be posting “Tips to align multi-color prints – part 2” so stay tuned!
SURIMACCAは、シルクスクリーンの製版サービスやオリジナルキットの開発のほか、シルクスクリーンの作業場を全国に拡げるプロジェクトを行っています。『JAMLAB』ではリソグラフやシルクスクリーンを使った実験や遊び方を紹介しています。
- SURIMACCA
- https://surimacca.com/
- 06-6485-7350(10:00~19:00)